Happy Saturday book friends! So by now I think you know that I come up with different ways to edit my pictures each season. I like to keep both my personal feed and my bookstagram fresh, but also enjoy consistency. So I usually spend some time creating a recipe in VSCO and then apply it to all my pictures.
A few months ago I also made a post about how I edit my pics for fall. This post will be very similar to that one, but instead I’m sharing my winter recipe! I’ll show you some before and after pics, too, of course.pics for winter
For this particular edit I only use VSCO, but sometimes if I feel like my pictures needs a little sparkle I’ll add some using the Kira Kira app.

The Recipe:
Then don’t forget to save the pic and the recipe of course! I really like this edit because it gives all my pictures a kind of dark green glow, which is my main color this year. The edit looks particularly good if you have lots of greens and blues in your picture!
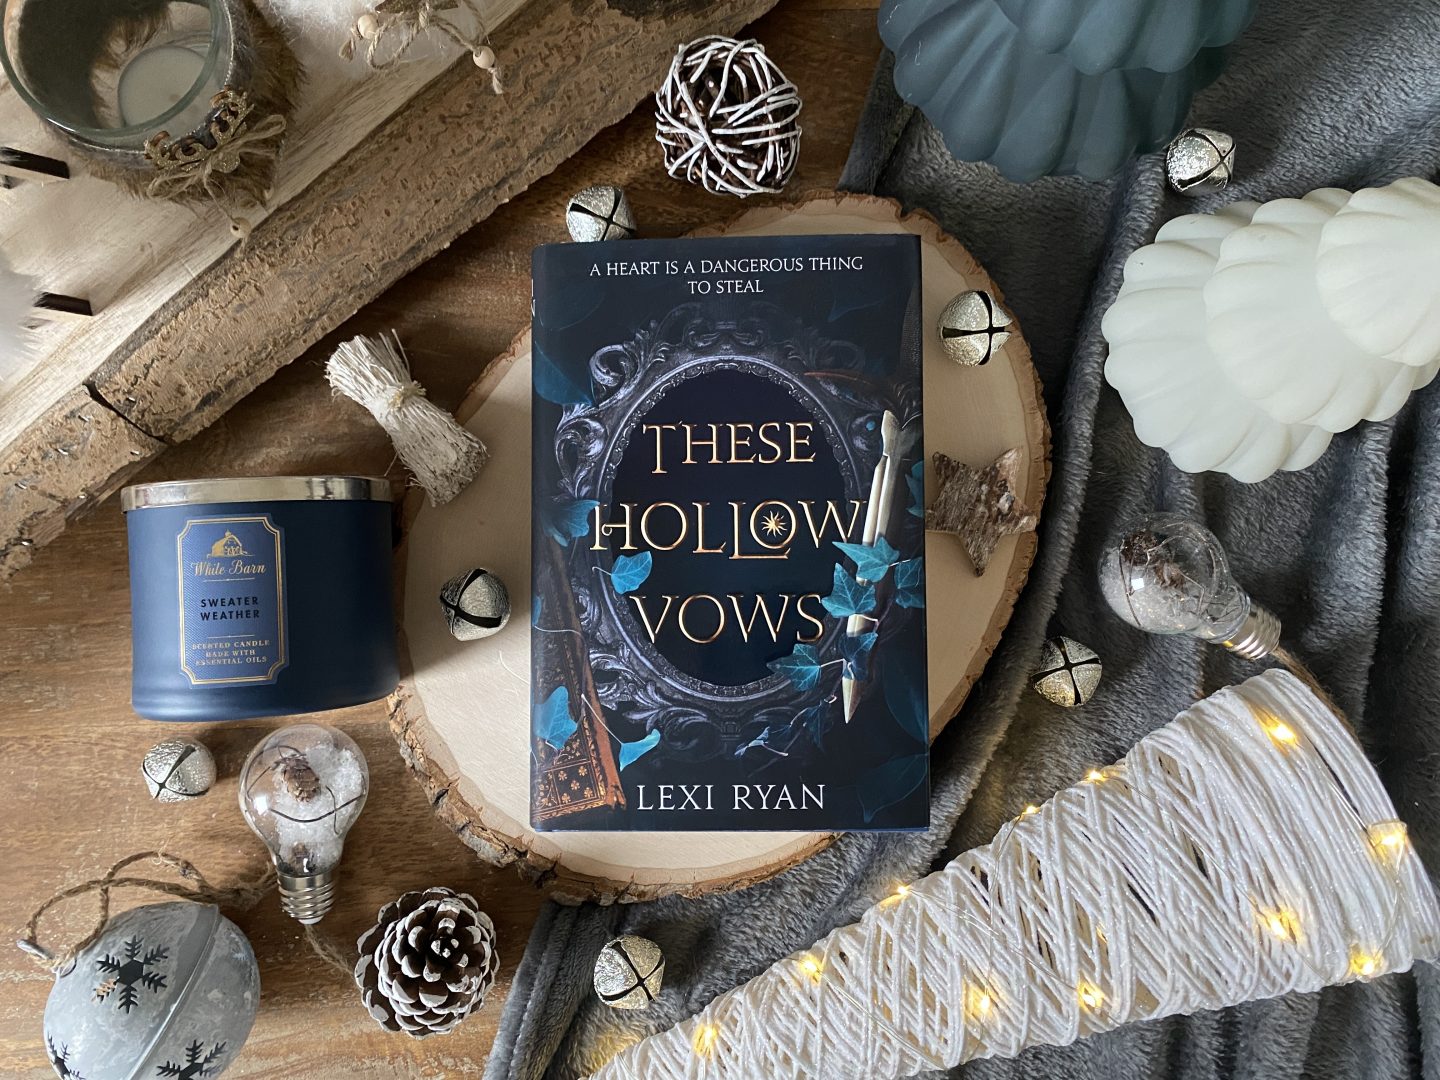

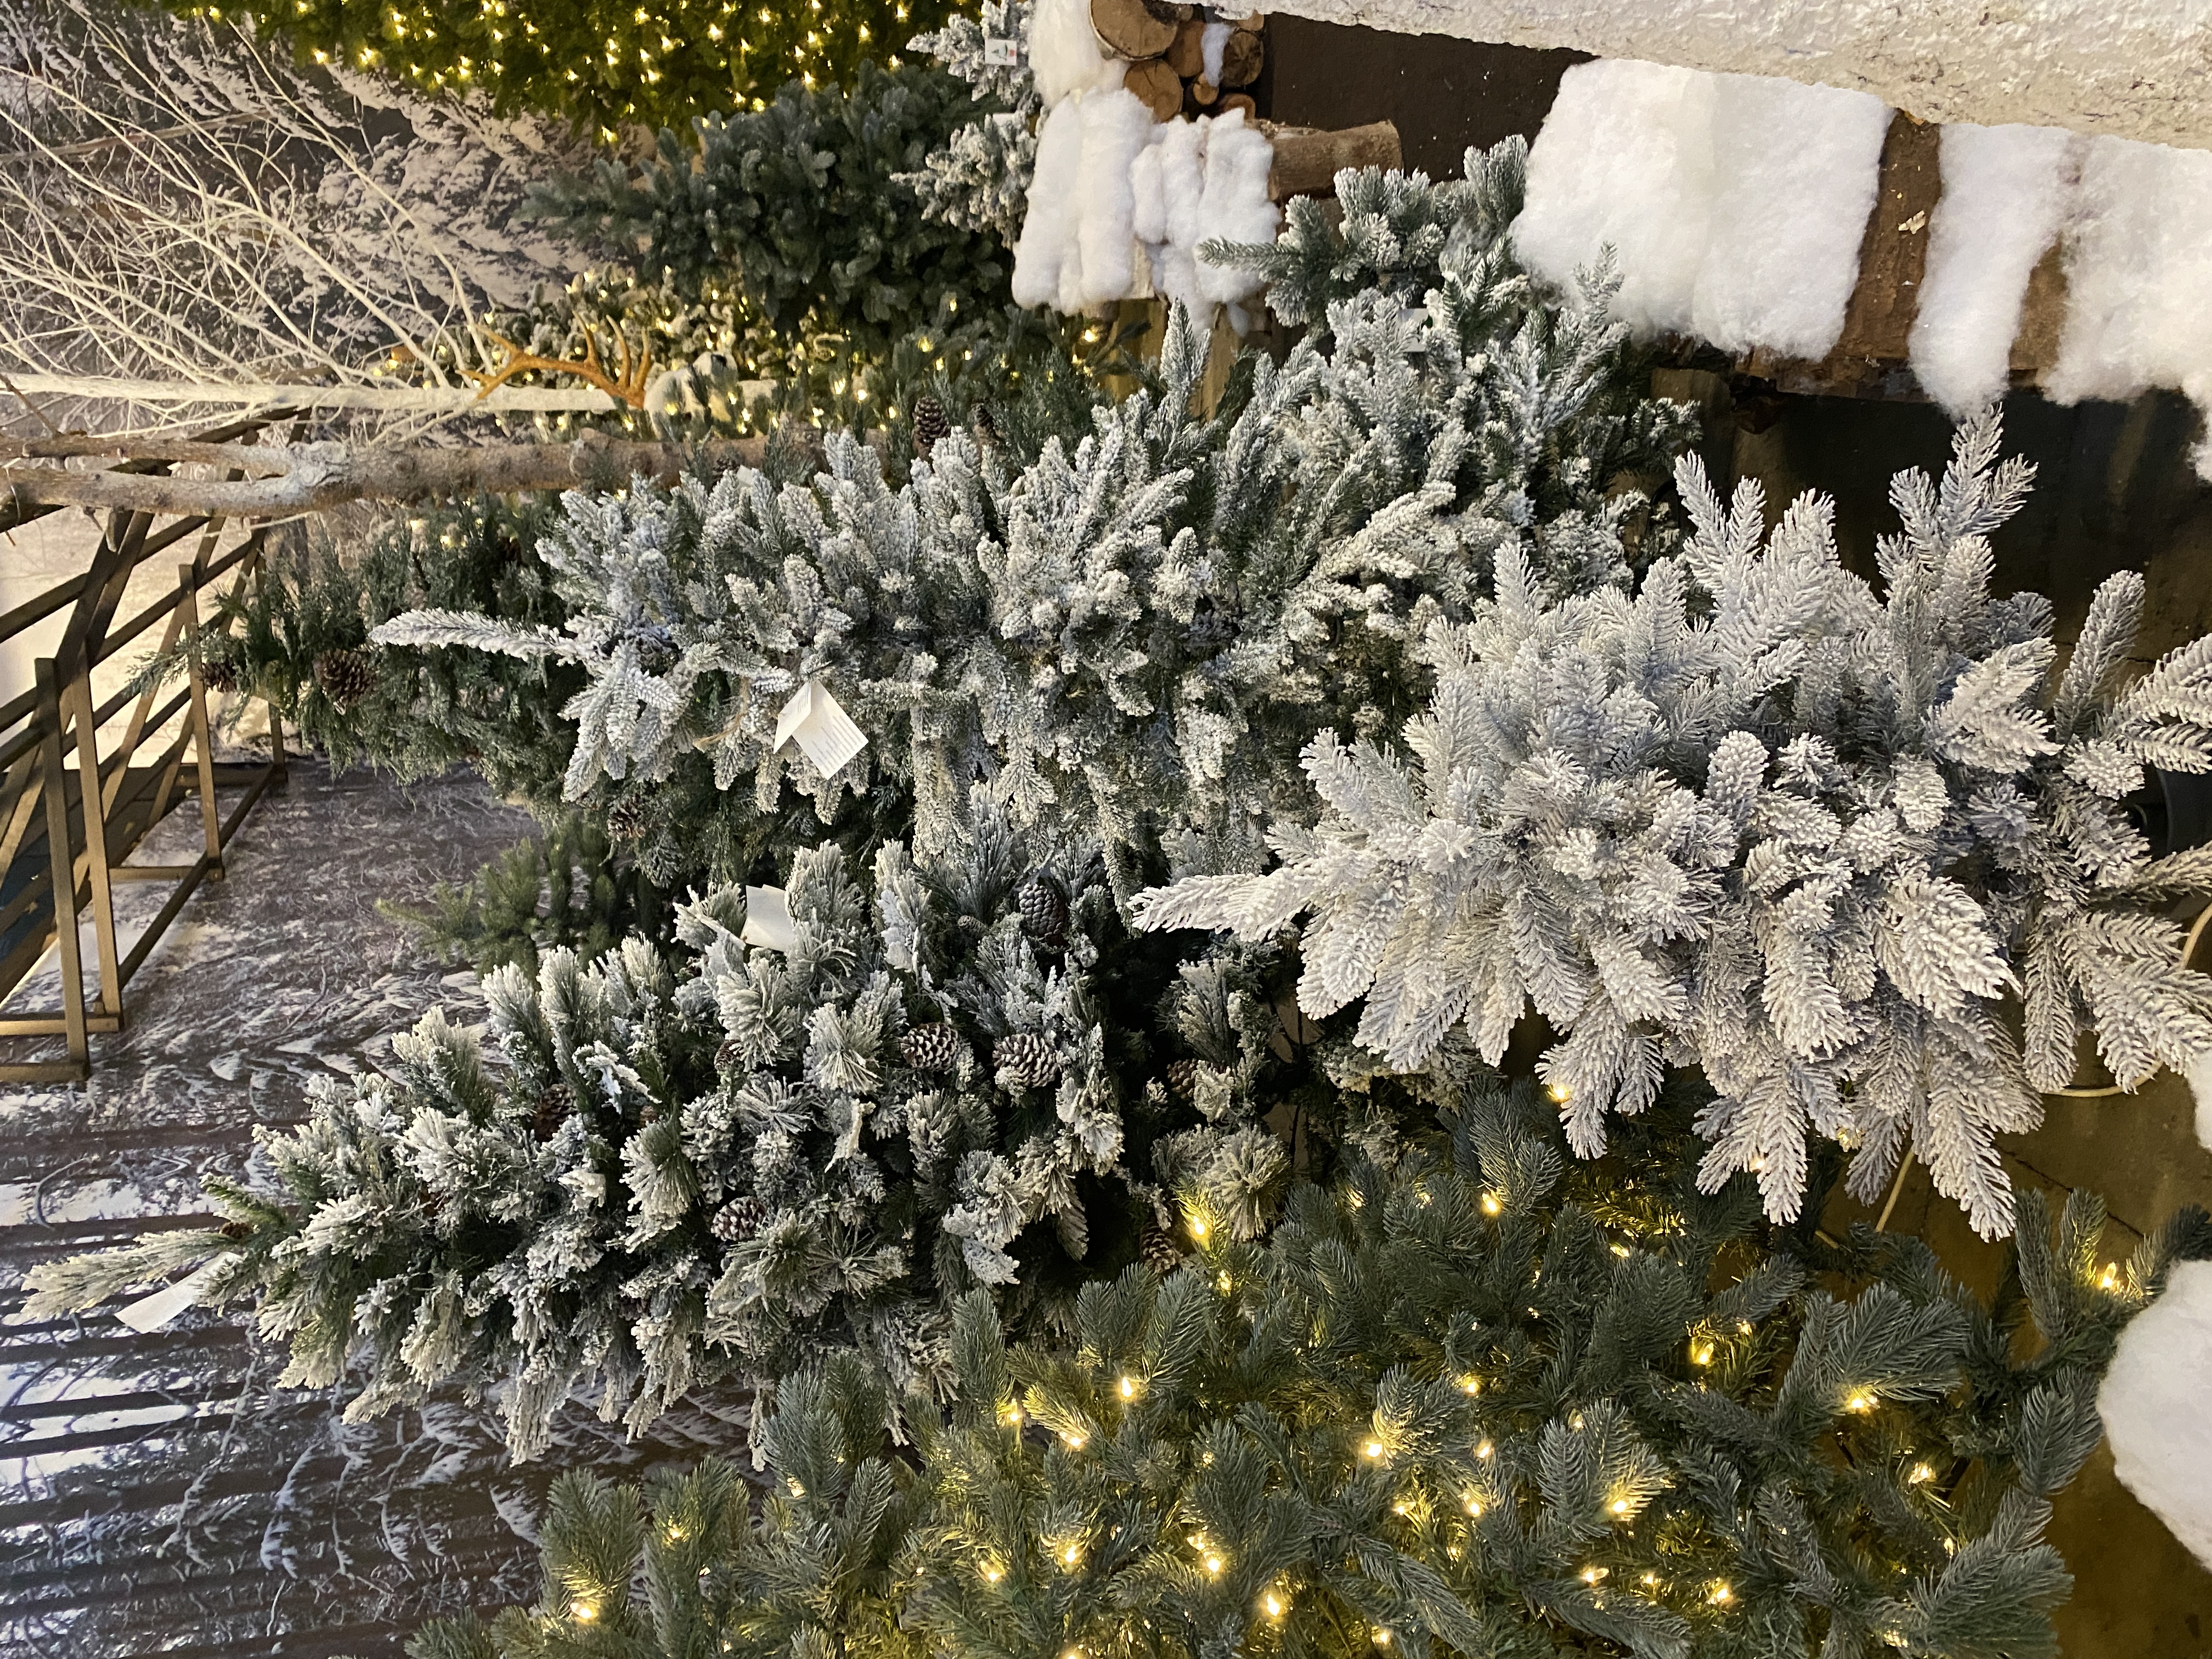


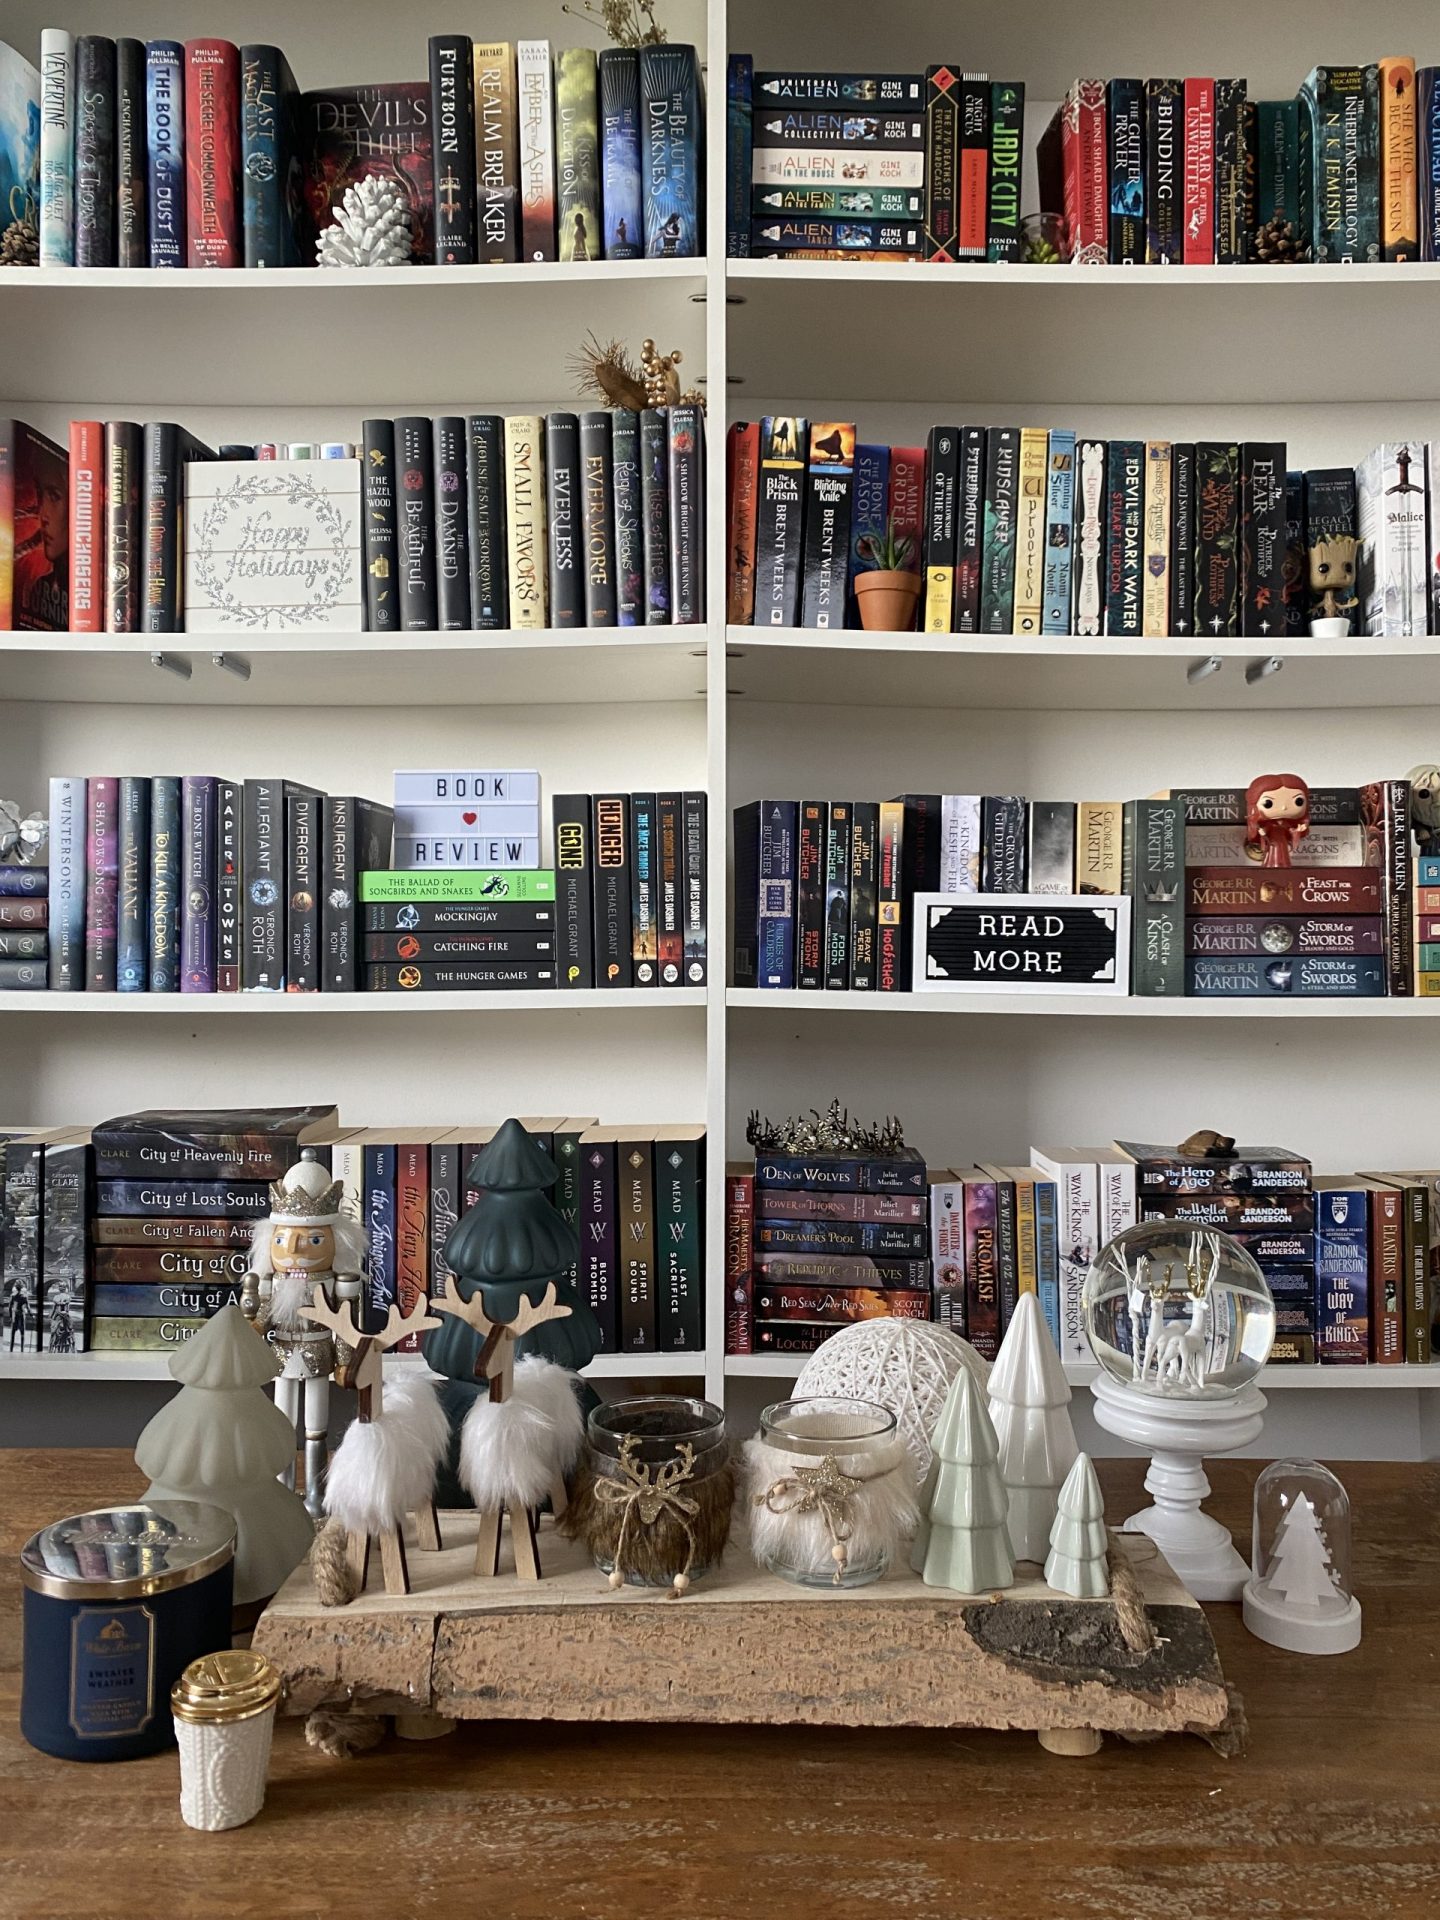
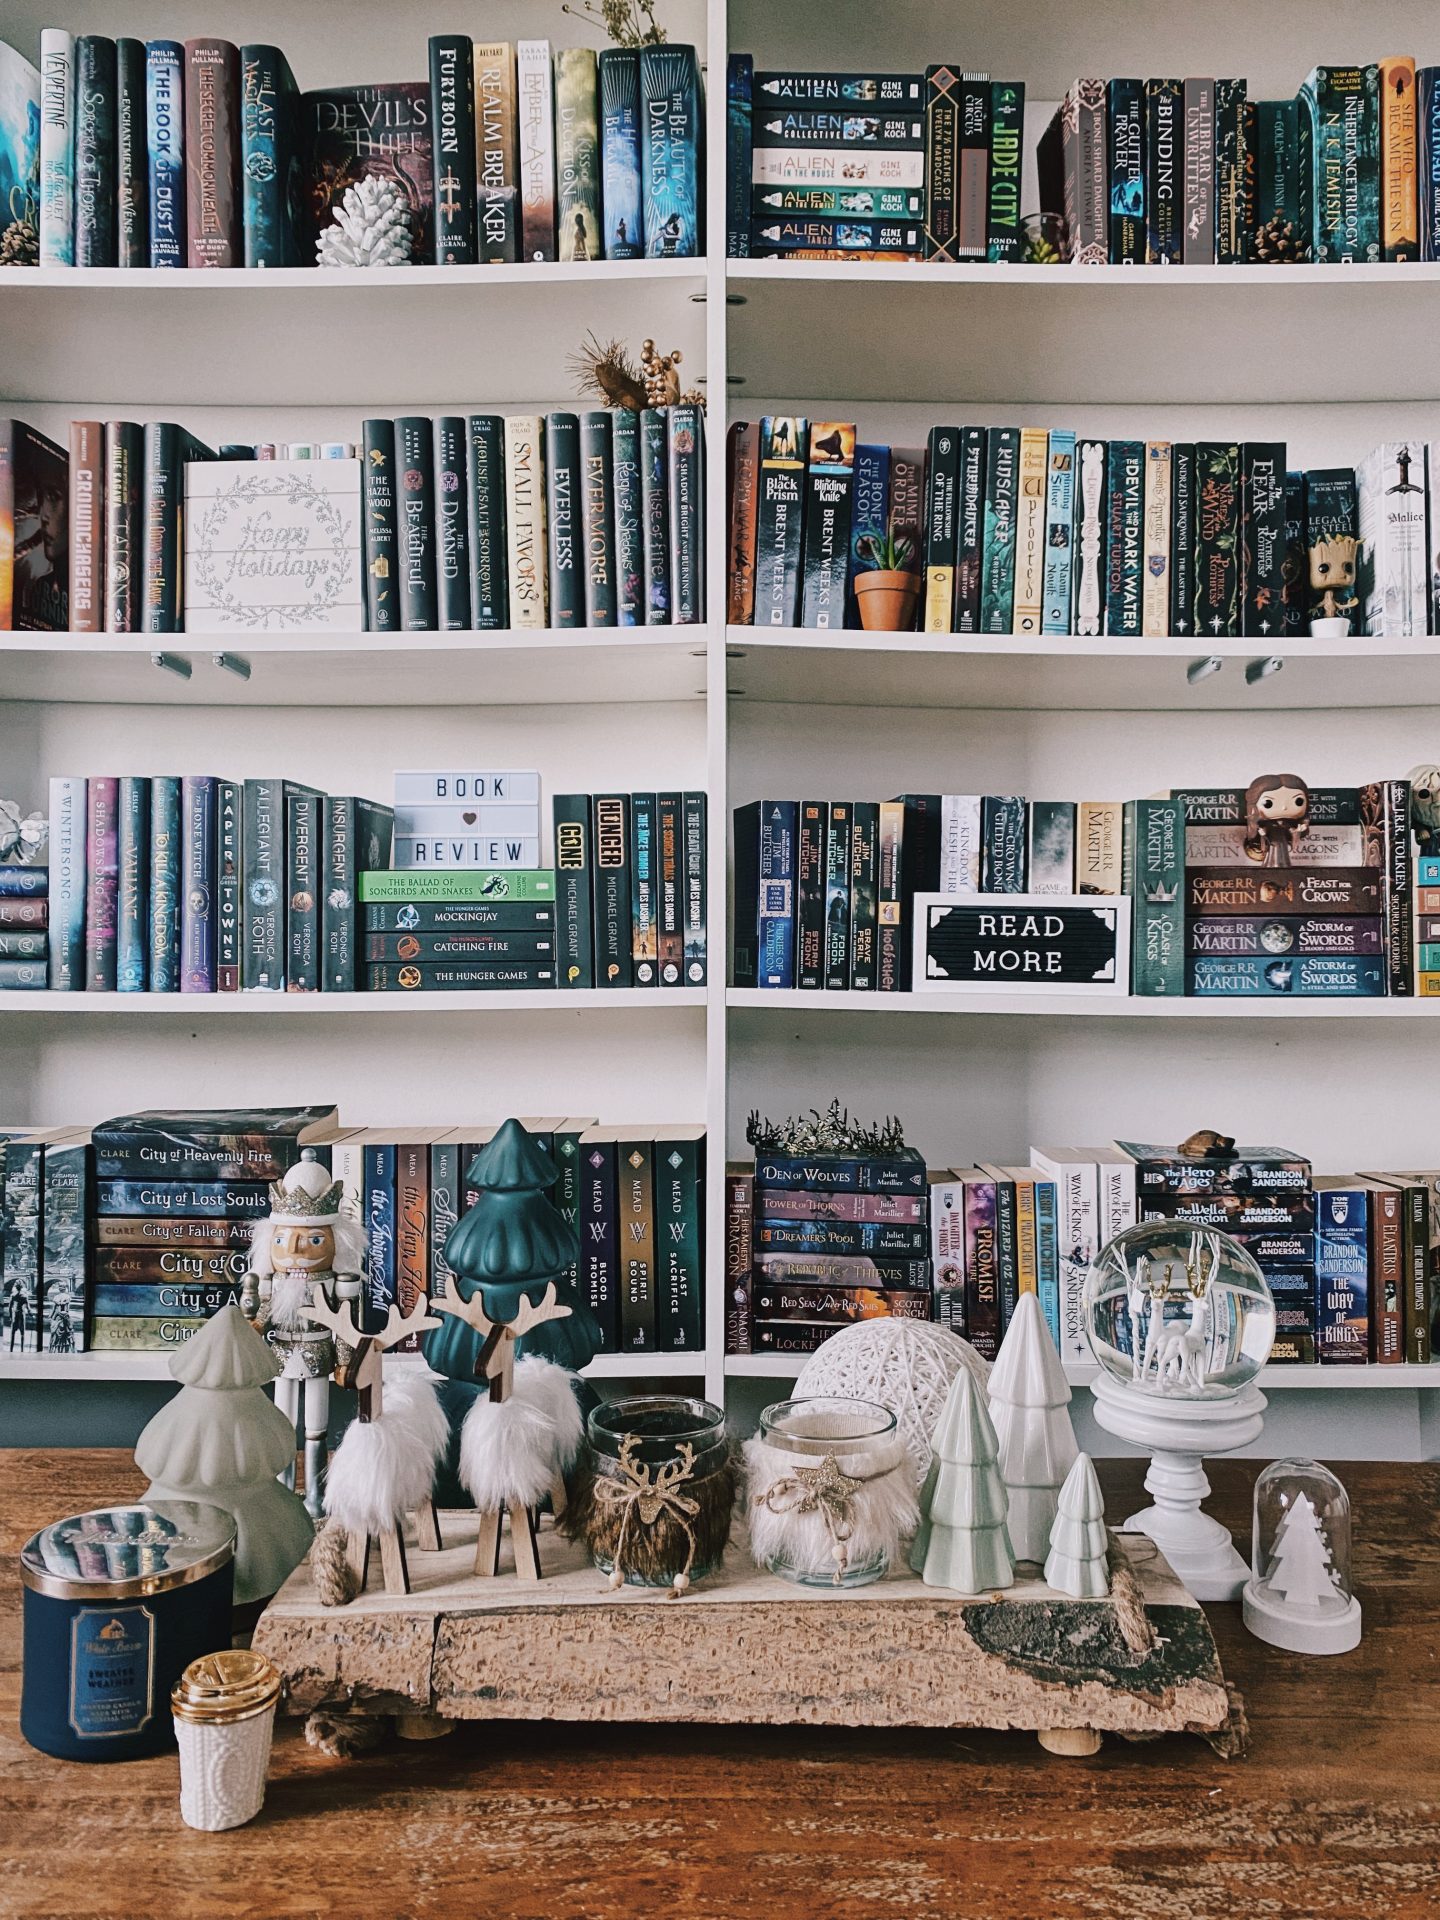
As you can see, taking out the red tones in the pictures makes them feel a lot colder even though I did nothing to the overall temperature. It’s not a huge difference with the unedited pictures, but I really like how these edits turned out! It was also fun to create an entirely new recipe. I had been using my recipe with the A6 filter for way too long. I think I created that one all the way back in 2019 and then continued to use it throughout the year… Thus it was high time for a new one!
And that’s how I edit my pics for winter! It’s a super simple recipe, but I hope you enjoyed it nonetheless. Do you change your edits depending on the season? Let me know which apps you like to use most!
Find more Blogmas here!